What’s Covered on This Page
A Dead HDMI Port Is Usually One of Two Problems
If you need PS5 HDMI port repair, here’s the most important thing to know. Your PS5 powers on, the light comes on, and the fan spins. But your TV shows nothing, or the picture flickers and cuts out. From where you’re standing, it looks like one problem. Inside the console, it’s usually one of two.
That’s why a correct diagnosis matters more than a quick port swap. If someone replaces the port when the real problem is a chip, you’ve paid for a repair and you still have a black screen.
The first problem is physical damage to the port. The HDMI port on a PS5 is soldered right onto the motherboard. It isn’t a part that snaps in and out. Damage often happens in ways like these:
- Someone trips over the cable, or the console gets moved while it’s still plugged in.
- The console falls or tips over with the cable attached.
- A cable gets forced in at an angle, which bends or breaks the tiny pins inside.
- The port wiggles loose over time, and the solder joints underneath crack.
You can sometimes spot this kind of damage. The port might look crooked, feel loose, or have pins that are bent or missing. If the picture comes and goes when you touch the cable, a cracked joint is a likely cause.
The second problem is a failed HDMI chip. Between the port and the rest of the motherboard sits a small chip that handles the video signal. If that chip fails, the port can look perfect and the console still won’t send a picture. Nothing about it looks broken from the outside. You can’t see it, and swapping the port won’t fix it.
Sometimes both happen at once. A hard yank on the cable can damage the port and also stress the board around it. That’s one more reason to check the whole signal path before anything gets replaced.
Before you assume the worst, rule out the easy stuff. Try a different HDMI cable. Plug into another input on your TV, or try a different TV or monitor. If the picture comes back, your console is fine and you don’t need a repair.
If none of that helps, that’s where hands-on board work comes in. I’ve spent over 13 years repairing phones, computers, and game consoles, with a focus on microsoldering and motherboard repair. Both of these PS5 problems are board-level fixes. A replacement port has to be soldered cleanly onto the motherboard, and a chip problem takes careful work on very small parts. At our Columbus shop, I look at your console, tell you which problem you have, and explain your options and pricing before any work starts. You’ll know what’s wrong and why before you decide.
Signs Your PS5 Needs Port-Level or Motherboard-Level Repair
You’ve already tried a new cable and another TV, and still nothing. Your console’s history and the way it acts can point toward where the problem lives. You can’t confirm it without opening the console, but these clues help you understand what to expect.
These signs point toward the port itself:
- The picture stopped right after something physical happened, like a fall, a cable yank, or a move with everything still plugged in.
- The cable feels loose, won’t seat all the way, or goes in at a slight tilt.
- The signal used to drop out now and then, and over a few weeks it got worse until it quit completely.
- Moving the console a little, not just the cable, brings the picture back for a moment.
These signs point toward the motherboard:
- The port looks clean and straight, the cable fits snugly, and there’s still no picture.
- The screen went black with no fall, no bump, and no cable accident before it happened.
- The port was already replaced once, by a shop or at home, and the problem came back or never went away.
- You see scorch marks, melted plastic, or a burnt smell near the back of the console.
That third sign matters more than most people think. A port swap that didn’t fix the picture often means the chip was the real problem all along. A rough first attempt can also leave damaged solder pads or torn traces on the board. That doesn’t always mean your console is done. It does mean the job has moved past a simple swap and into careful motherboard repair and microsoldering.
Some symptoms aren’t HDMI problems at all. If the console won’t power on, beeps and shuts off, or turns off by itself during games, that’s a different repair. We also handle PlayStation no power repair and PlayStation overheating repair, and a proper diagnosis sorts out which issue you have.
When you bring your PS5 to our shop, a few details help us find the cause faster:
- When the picture stopped, and whether it happened all at once or slowly
- Anything that happened right before, like a drop, a move, or a pulled cable
- Whether anyone has opened the console or worked on the port before
- What you’ve already tried, such as other cables, other TVs, or other inputs
Be honest about past repair attempts, even ones you’d rather forget. Nobody’s judging. Knowing the console’s history tells us where to look first. It also lets us give you a clear picture of the work and the cost before anything gets soldered.
When the Problem Is Not the Console’s HDMI Port
Plenty of black screens have nothing to do with the port or the chip behind it. Before you pay anyone to open your console, it’s worth ruling these out. Some take two minutes. None of them need tools.
Start with your video settings. The PS5 can send a signal your TV doesn’t accept. This can happen after you switch TVs, change a setting, or move the console to a different room. The console is working fine, but the TV can’t read what it’s getting. The PS5 has a built-in safe mode that can reset the video output to a basic setting most screens accept. If the picture comes back after a reset, the port was never the problem.
Next, look at everything sitting between the console and the TV. These extra devices cause a lot of no-signal headaches:
- A soundbar or audio receiver the PS5 runs through before it reaches the TV
- An HDMI switch or splitter that lets several devices share one TV input
- A capture card used for streaming or recording gameplay
- A wall plate or long cable run that hides a second connection behind the drywall
Each of these is another spot where the signal can drop. Plug the PS5 straight into the TV with nothing in between. If the picture shows up, the problem is in that extra device, not your console.
Rest mode can fool you too. A console that’s stuck in rest mode, or one that’s busy installing an update, may show a light but send no picture. Give it a few minutes. If that doesn’t work, fully shut it down by holding the power button on the console, then start it again.
Your TV can also be the cause. TV settings that control how its HDMI inputs handle high-speed signals can block a PS5 picture on one input but not another. An out-of-date TV can do the same thing. If other devices also act strange on that input, look at the TV first.
Here’s a simple case. You’ve got a PS5 that worked fine in the living room. You move it to the bedroom, plug it into an older TV through an HDMI switch, and get nothing. The console looks fine and the port looks fine. In a setup like that, the settings or the switch are the first suspects, not the console.
If the picture is fine but the sound is missing or coming from the wrong place, that’s almost always an audio output setting. It isn’t a hardware failure. Check where the PS5 is sending sound before you worry about the port.
Some cases are worth leaving alone for now. If the picture flickered once after a power outage and has been steady since, keep an eye on it. One blip isn’t a pattern. If it keeps happening, the signs covered above will tell you more.
If you’ve worked through all of this and the screen is still black on a direct connection, then the console is the likely cause. At that point, a bench diagnosis is the next step, not more guessing at home.
Not sure what your Ps5 hdmi Port repair project needs? Ask us.
Get Instant Quote Now. JUST PHONE REPAIR & ELECTRONICS is ready to help.
Why Microsoldering Skill Matters for This Repair
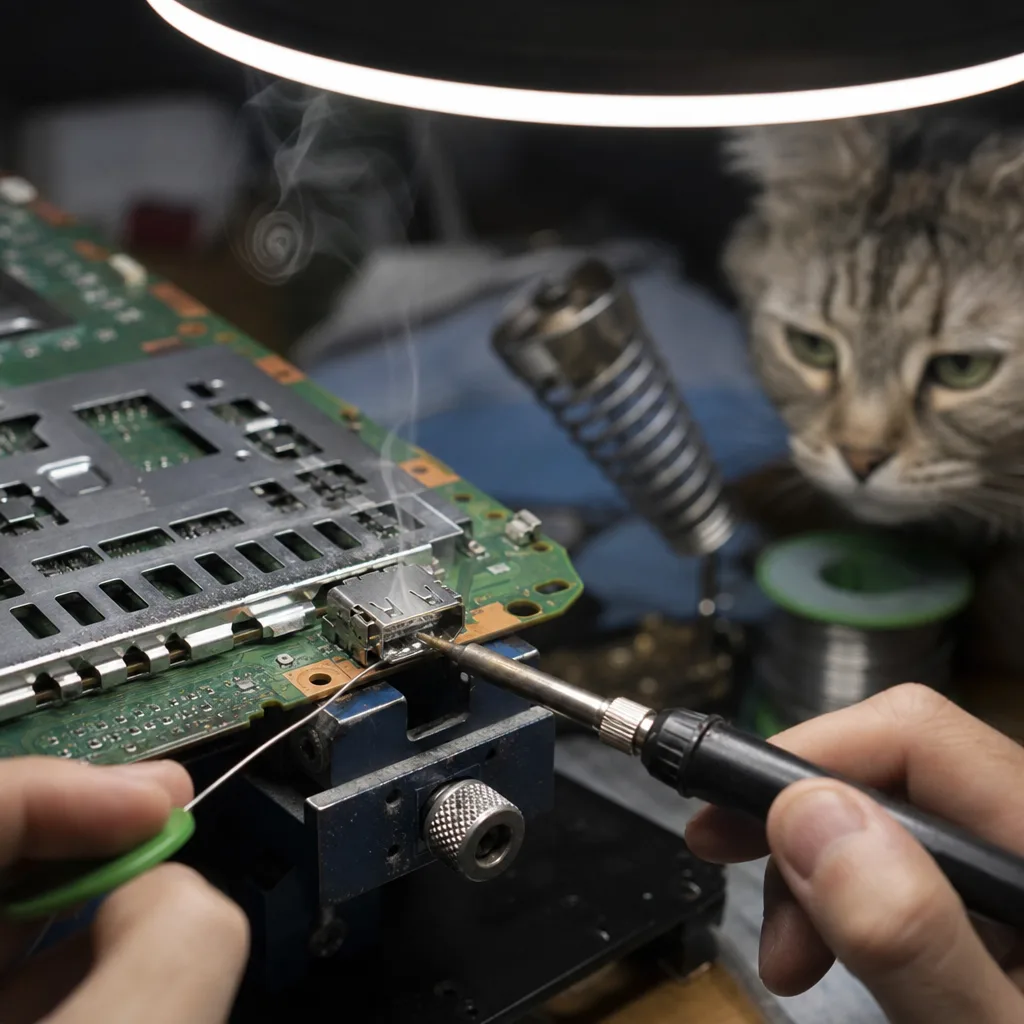
Swapping a PS5 HDMI port sounds simple. You take the old one off and put a new one on. The hard part is size. The port has many tiny solder points, and it sits on a crowded board next to parts that are easy to damage. Most of the risk in this repair comes from getting the old port off without hurting anything around it.
When the job is rushed or done without real soldering skill, here’s what can go wrong:
- Too much heat lifts the small copper pads the port sits on. The new port then has nothing solid to attach to.
- A thin trace gets torn. Traces are the tiny lines on the board that carry the video signal.
- Heat spreads to nearby parts, including the HDMI chip. A part that worked fine before the repair can be damaged by it.
- Solder bridges two pins together. The picture then shows up spotty or not at all.
- The new port looks fine, but a weak joint underneath cracks after a few weeks of normal use.
Any one of these can turn a port job into a bigger motherboard repair. That’s why a failed first attempt changes the job so much. Fixing a bad repair is often harder than fixing the original problem.
Good board work is slow on purpose. The old solder gets cleaned off completely. Each pad is checked before the new port goes on. Every joint is inspected. Then the console is tested with a real cable and screen before it goes home. Skipping any of those steps is how a working-looking repair fails later.
This is also what drives the cost. Shops price this repair based on how much board work it takes, not just the part. These are the main things that move the price up or down:
- A port-only swap on a clean board with healthy pads
- A port swap that also needs lifted pads or torn traces repaired
- A failed HDMI chip that needs to be replaced
- Cleanup from a past repair attempt before the real fix can start
Before you hire anyone, ask a few plain questions. Will they tell you whether it’s the port or the chip before they start? Do they do the soldering themselves or send it out? What happens if they find more damage once the console is open? A shop that does this work well won’t mind answering any of them.
I’m the owner and lead repair technician here. Microsoldering and motherboard repair are the skills I’ve built over more than 13 years of fixing phones, computers, and game consoles. We’re a husband-and-wife shop, and my wife helps with game console repairs. I look at your PS5, explain what I find, and go over your options and pricing before any soldering starts.
What Happens During Diagnosis and Repair
A PS5 HDMI repair has two parts. First, someone finds the cause. Then they fix it. You make the call in between. Knowing what each part involves takes a lot of the worry out of handing over your console.
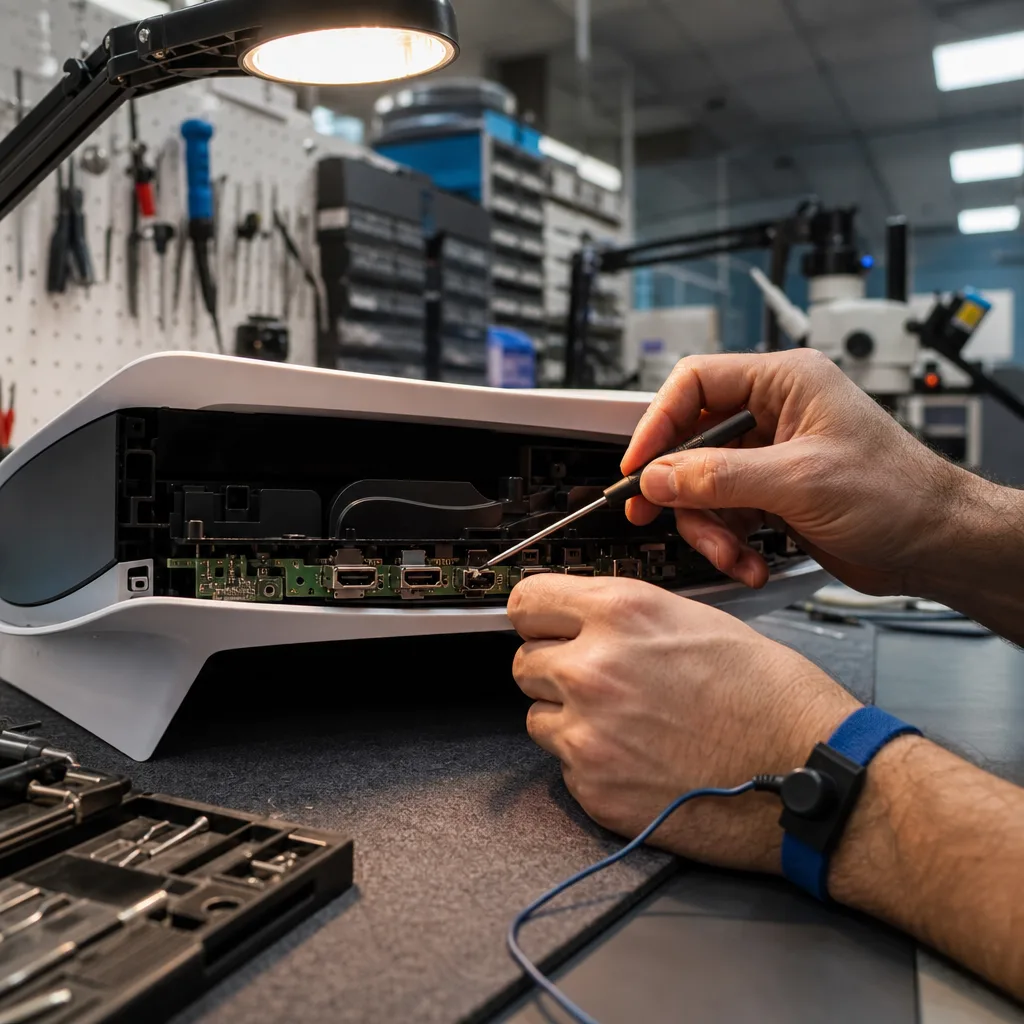
Diagnosis starts with opening the console. On a PS5, the port sits on the motherboard under the side panels and several layers of metal shielding. Nobody can judge it from the outside. Once the board is exposed, the port gets a close look under magnification. That means checking the pins, the solder joints, and the pads underneath. Then the signal path between the port and the HDMI chip gets tested. That testing is how you tell a port problem from a chip problem when the port looks perfectly fine.
I assess your console myself. Once I know what’s wrong, I explain it in plain words. You’ll hear which problem you have, what the fix involves, and what it will cost. Nothing gets soldered until you say yes. If you decide the repair isn’t worth it for you, that’s your choice to make.
Sometimes a board shows more than anyone expected once the work begins. A lifted pad might turn up under the old port, or there might be signs of an earlier repair attempt. If that happens, I stop and update you before going further. You won’t find out about extra work when you come to pick up your console.
After the fix, the console gets put back together and run. A good check goes beyond seeing the home screen once. It means a picture that stays steady through real use, and a port that holds the cable snugly without any wiggle.
A few things help on your end:
- Back up your saves before drop-off. An HDMI repair doesn’t involve the storage drive, so your games and saves normally stay put. A backup is still a smart habit. If you have a PlayStation Plus subscription, you can upload saves to cloud storage. Without it, you can copy saves to a USB drive.
- Bring the console, not the whole setup. Your controller, games, and cables can stay home unless you’ve been asked for something specific.
- Reconnect in steps when you get home. Plug the PS5 straight into the TV first. Once the picture is solid, add your soundbar, switch, or capture card back one at a time. That way, any extra device that’s acting up won’t make you think the repair failed.
That last step is worth the extra five minutes. As covered above, devices in between the console and the TV cause plenty of no-signal problems on their own. Testing the direct connection first tells you right away that the console itself is working.