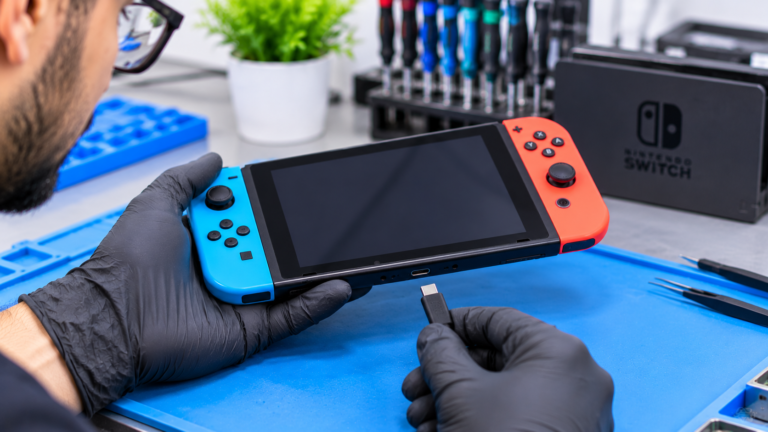
Why Is My Nintendo Switch Not Charging Through the USB-C Port?
A Switch that stops charging through its USB-C port usually has one of three problems: a bad charger or cable, a damaged port, or a failed chip in the charging circuit behind the port. The port takes a lot of wear, because the console slides in and out of the dock and gets plugged in by hand during handheld play. Over time the metal contacts can loosen, bend, or collect lint, and the connection drops in and out. Behind the port sit two chips that handle power. The M92T36 negotiates power delivery with the charger or dock, and the BQ24193 controls how the battery charges. If either chip fails, even a perfect port will not charge the console. This guide focuses on that port and power delivery path, so you can tell which part failed before you pay for a repair.
What Should You Try Before a Switch Charging Port Repair?
Start with the steps Nintendo publishes on its support site, because they separate a charger problem from a console problem without opening anything. Nintendo of America’s charging troubleshooting page, checked in November 2026, applies to the original Switch, the Switch Lite, and the Switch OLED Model, and it asks you to remove the console from the dock first. It also points out that the Switch has no power light, so a dark screen alone does not prove the console is dead. If a charging icon appears after these steps, the port and charging circuit are likely fine. If the icon never appears, or the battery will not reach 100 percent after several hours, Nintendo says to test the adapter on another Nintendo USB-C product, such as a Pro Controller or the dock, to see whether the adapter itself still works.
- Unplug the AC adapter from the wall and the console, then wait 30 seconds.
- Hold the POWER button for 20 seconds to force a full shutdown, then release it.
- Plug the adapter into a wall outlet, then into the console, and press POWER once.
- If the battery is nearly empty, charge for at least 30 minutes before trying again.
- Look for MOD. HAC-002 on the bottom of the adapter, which marks the official Nintendo Switch AC adapter.
How Can You Tell if the Switch USB-C Port Is Physically Damaged?
Physical port damage usually shows up as a connection that depends on the angle of the plug. With the console powered off, shine a flashlight into the port on the bottom edge and look for bent or pushed-in metal, debris, scorch marks, or green corrosion. Nintendo’s own guide says damage to the USB-C connector, such as bent metal, requires service, so this is not a part to straighten or dig at with a pin, needle, or other metal tool. A technician can confirm the problem with a USB meter, which shows whether the console negotiates higher charging voltage from the official adapter. Repair references describe a healthy console reaching 15 volts on the official charger, while a console stuck at 5 volts points toward the M92T36 chip rather than the port itself. That single test often decides which repair you need.
- The console charges only when the cable is held at an angle or pressed upward.
- The plug feels loose, wobbles, or slips out of the port.
- The Switch charges in handheld mode but not in the dock, or the reverse.
- The dock stops sending video to the TV even though the dock and HDMI cable work with another Switch.
- You can see bent pins, scorch marks, or corrosion inside the port.
Can a Third-Party Dock or Charger Damage the M92T36 Chip?
Yes, a poorly designed dock or charger can damage the Switch charging circuit, and it is one of the most common reasons a port repair turns into a chip repair. In August 2019, TechRadar reported findings that the Switch power delivery chip can handle a maximum of 6 volts on the USB-C configuration channel pin, while some Nyko docks sent 9 volts to that pin. The result was a burned-out power delivery chip and a console that would no longer charge. Nintendo’s support page also recommends licensed adapters and notes that unlicensed products are not tested by Nintendo and may have compatibility problems. If your Switch stopped charging right after you plugged it into a new dock, travel charger, or bargain cable, mention that during the diagnostic. It tells the technician to test the M92T36 and BQ24193 chips, not only the port.
Do the Switch OLED and Switch 2 Have Different Charging Port Problems?
The basic problem is the same across models, but the details change. Nintendo’s charging guide covers the original Switch, the Switch Lite, and the Switch OLED Model with the same steps, and each has a single USB-C port on the bottom edge. The Switch Lite never docks, so its port wears from handheld charging rather than dock insertions. The Nintendo Switch 2 is different because it has two USB-C ports, one on the top and one on the bottom. Nintendo’s Switch 2 support page says that if the console charges through one port but not the other, the console needs repair. It also says the original Switch AC adapter, model HAC-002, can charge the Switch 2 directly but cannot be used with the Switch 2 dock. iFixit lists the Switch 2 bottom port as soldered to the motherboard, so it is board-level work too.
How Does a Nintendo Switch Charging Port Repair Work in Columbus?
On the original Switch, the USB-C port is soldered directly to the motherboard, according to iFixit’s parts listing, so a replacement is micro-soldering work rather than a plug-in part. At our Clintonville shop, the repair starts with a free diagnostic that checks the adapter, port, power negotiation, and charging chips, and then you get an upfront quote. For price context, published independent shop rates checked in November 2026 included $119.99 for a Switch charging port replacement at Fixstop in Florida and $160 for a broken power or docking port at xCubicle in New York. A chip repair, corrosion, or liquid damage can change the total, and the exact quote comes after the free diagnostic. Our guide to whether repairing a Switch is worth it helps you compare that number with the price of a new console.
- Test the adapter, cable, and dock to rule out accessory faults.
- Measure voltage and current draw to see whether the console negotiates power.
- Open the console and inspect the port and charging chips under magnification.
- Heat and remove the old port, clean the pads, and solder in a new port.
- Check every pin, then test charging in both plug orientations and in the dock.